A Beginner’s Guide to Mending Your Jeans
This is a guest blog post by Millie Scott, upcycled fashion accessories designer and member of Fashion Revolution Scotland.
The way we care for our clothes has a huge impact on the environmental footprint of what we wear. But being more eco doesn’t necessarily mean going out and buying a whole new wardrobe from sustainable brands. It can be as simple as looking at what you already have, and thinking about how you can look after these clothes better and keep them in your wardrobe for longer. In fact, 1/3 of the carbon footprint of clothes comes from the way we care for them (Valuing our clothes: The cost of UK fashion | WRAP).
The denim repair guide below covers the following techniques for mending your jeans, all of which can be done at home with a domestic sewing machine and simple sewing kit.
- How to repair a broken jean zip
- How to hem your jeans
- How to patch repair your jeans
- How to sashiko your jeans
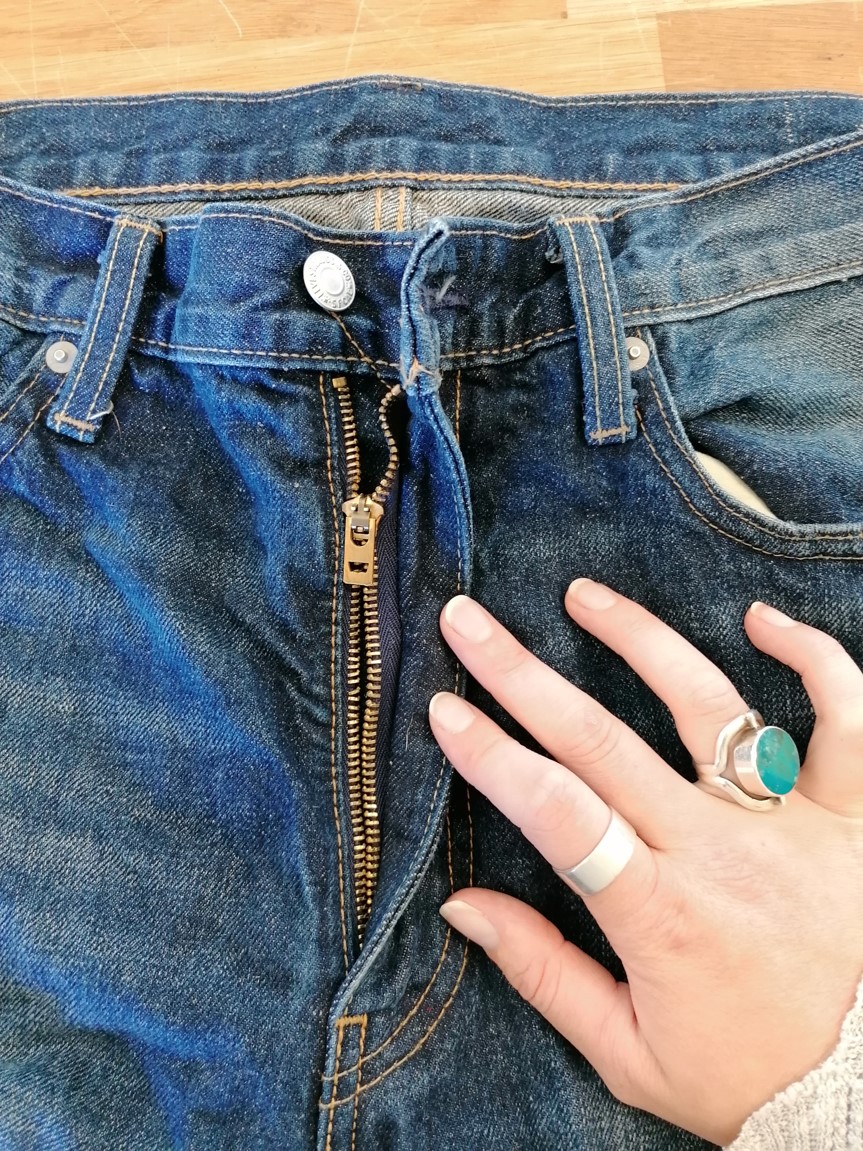
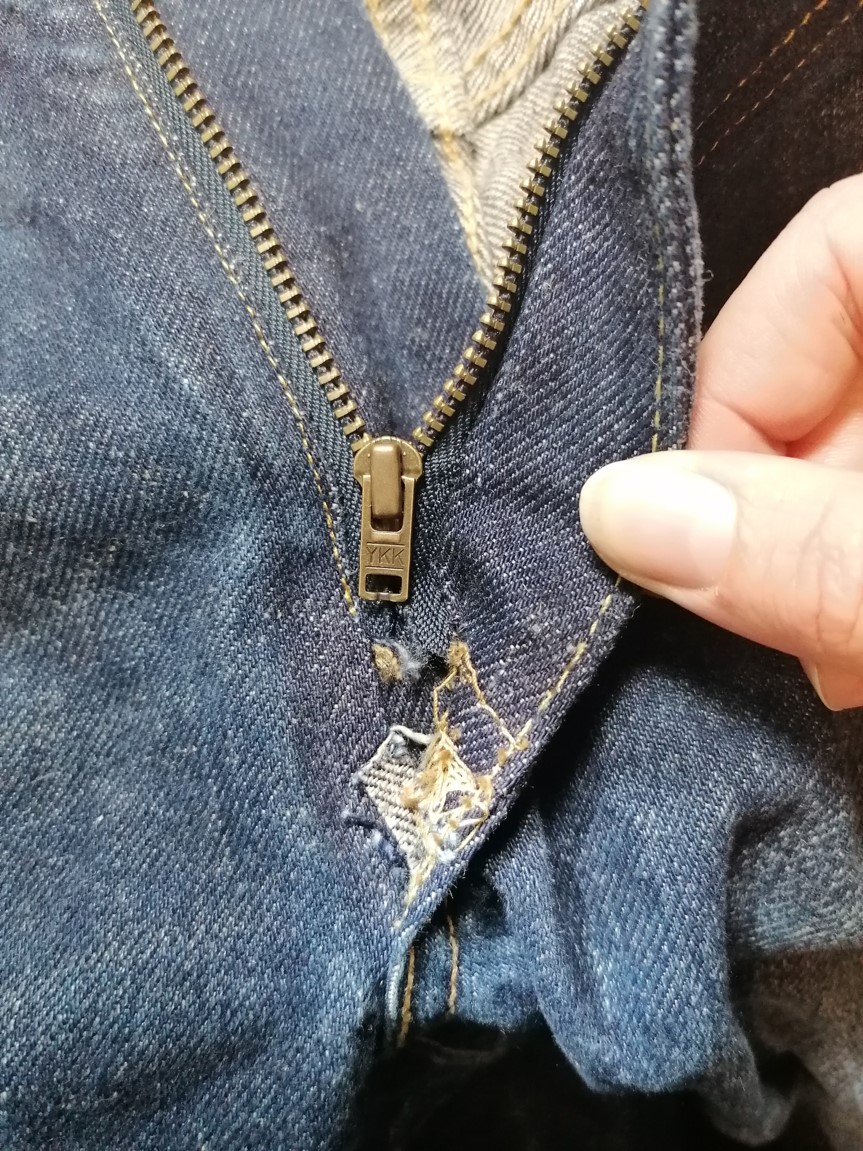
How to Repair a Broken Jean Zip
Mending the zip on your jeans can seem like a really daunting task, but if you have the right tools and a little bit of patience, it can be a very satisfying repair job. It is also such a great way to keep your clothes wearable and in your wardrobe instead of landfill.
What you will need
- Snips/scissors/seam unpicker
- New zip matching the old one
- Thread for sewing and thread for topstitching
- Sewing machine
- Pins
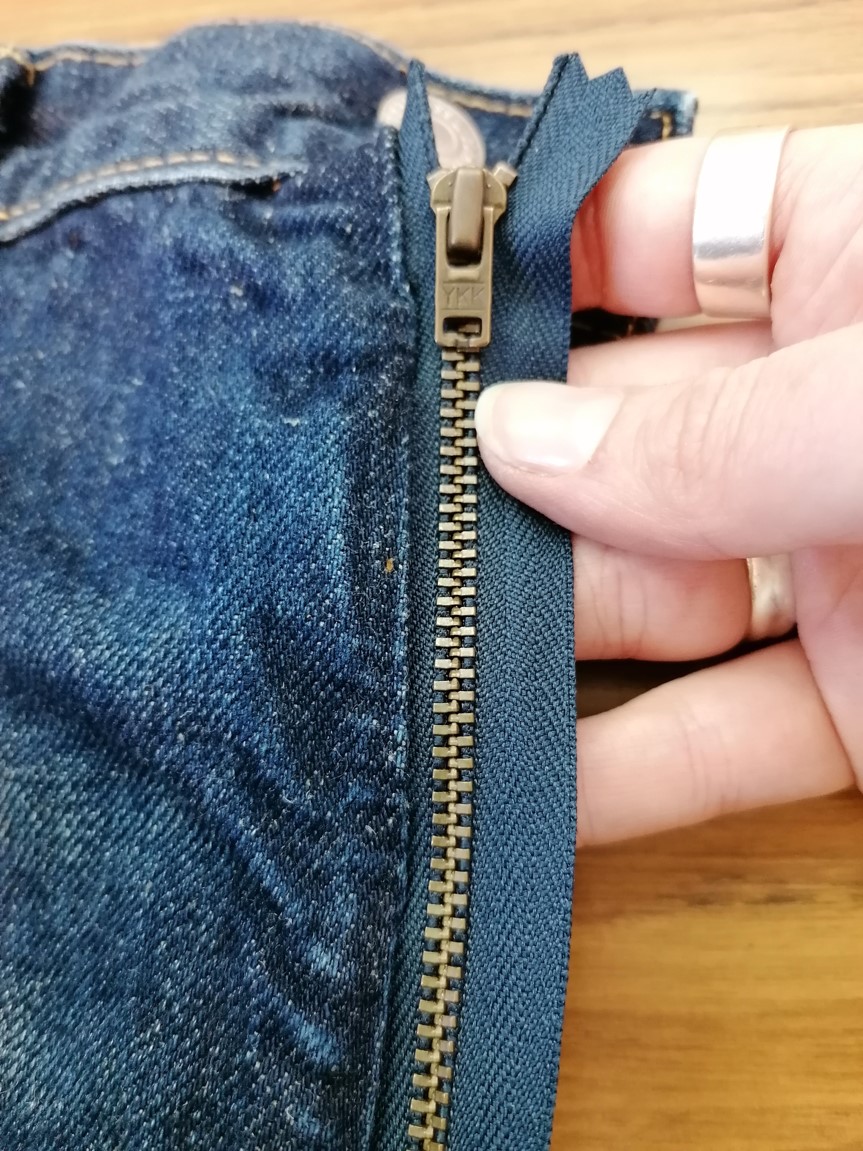
Step 1
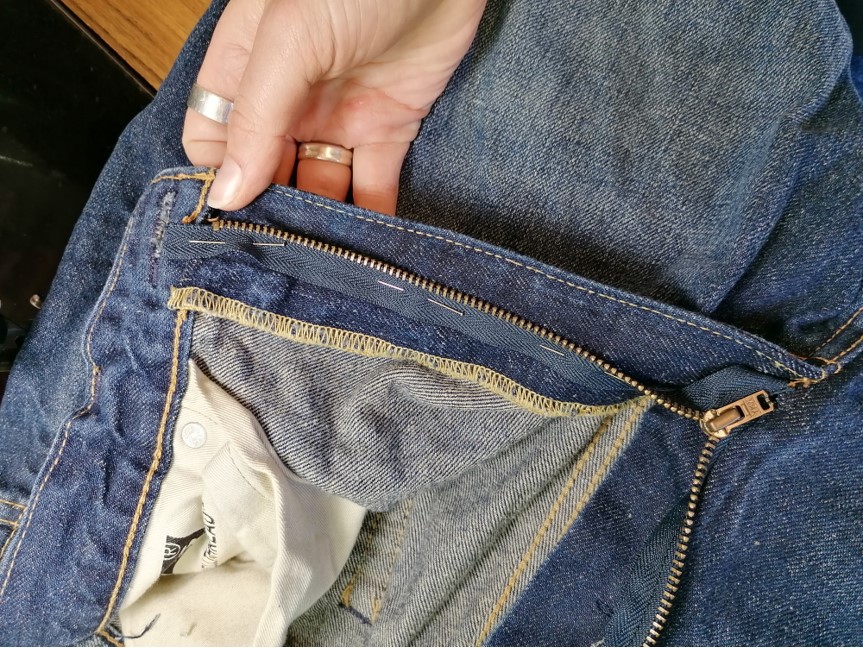
Unpick your broken zip. I like to use a seam ripper to make sure I am only cutting the stitches and not picking up any of the denim warps/wefts. Make sure you remove all old threads. It’s a bit of a faff but it’s much easier doing it now because once your zip is sewn into place, the old thread can be much harder and sometimes impossible to remove, so you’ll get a much cleaner finish removing all old thread now. You’ll want to unpick approx. 6cm of the waistband stitching as well as some of the heavier stitches towards the bottom of the zip. This will make it easier to insert your zip. You can take photos of your zip before you unpick it all to help you remember how it looks if you want.
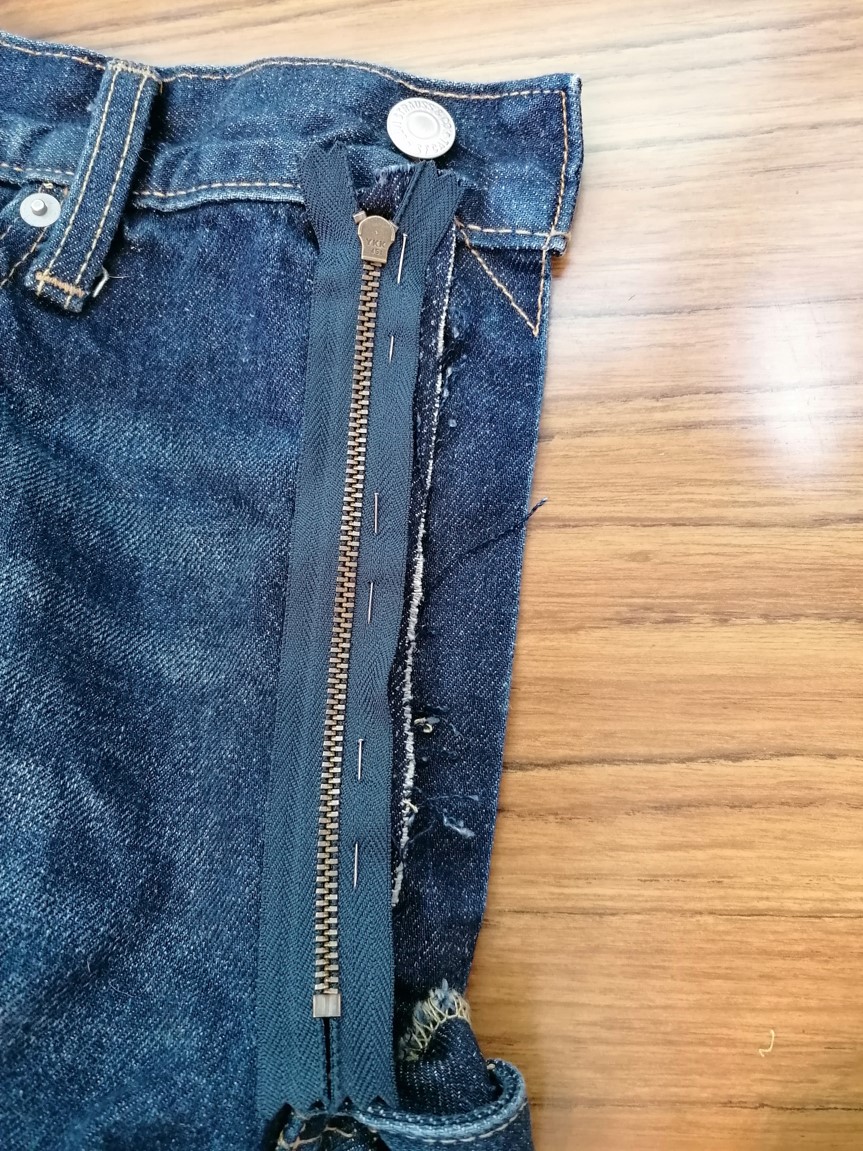
Step 2
Pin the left-hand side of zip tape right side to right side onto the left crotch seam. Make sure the top of your zip tape lines up with the top of the seam. Use the line of the old seam as a guide to keep your zip straight. I like to put my pins along this line to make sure the zip is sitting exactly where it needs to be. You can turn the zip over so the right side is facing up and check to make sure the zip is sitting straight before you sew it in.

Step 3
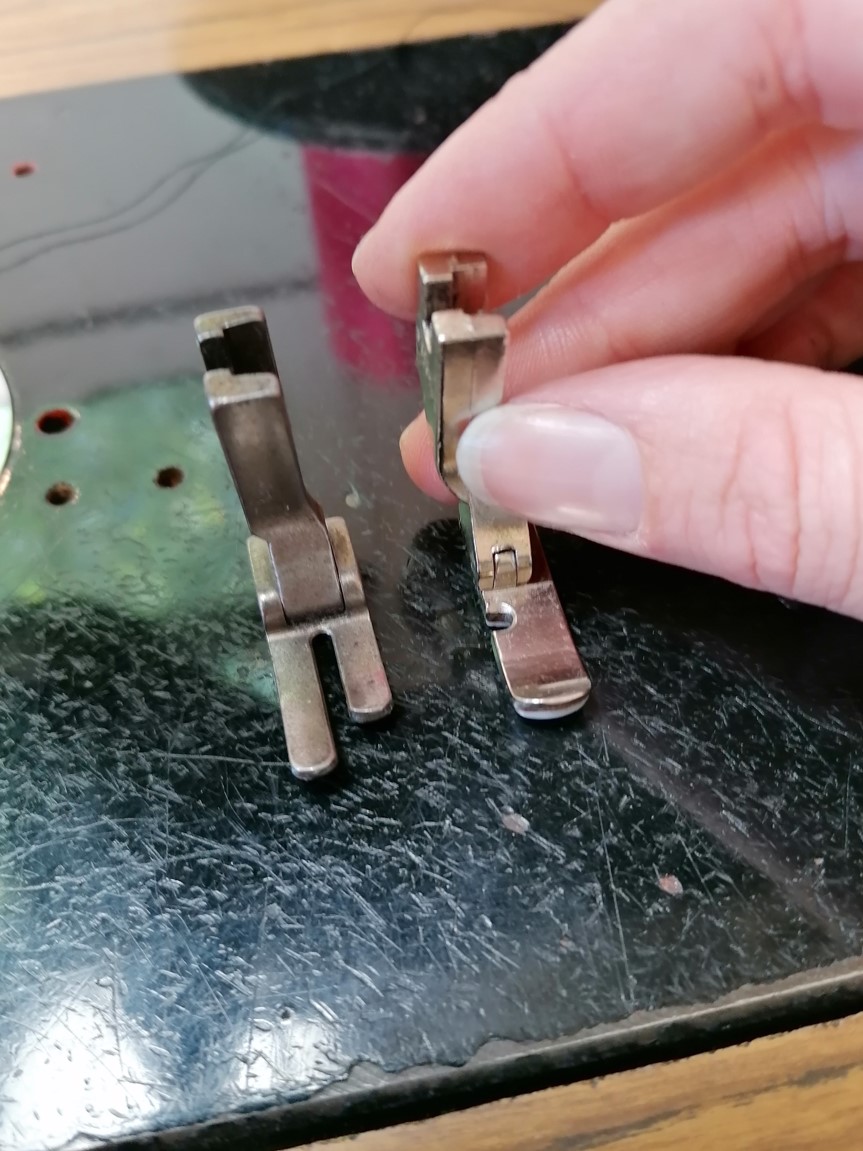
Change the foot on your sewing machine to the zip foot and sew into place. Take the zip fly and sew it to this seam using the same seam allowance (usually 0.5cm or 1cm.).

Step 4
Topstitch the seam down to give it a crisp edge. A lot of jeans have contrast top stitching here, I always try and match whatever the original garment has.
Step 5
Pin the other side of the zip right side to right side along the right-hand side crotch seam. Again, make sure the top of your zip tape lines up with the top of the seam and use the old stitch lines as a guide for keeping your zip straight. Sew in place. Check your zip is sitting right by zipping it up. It should be sitting flat and neat.
Step 6
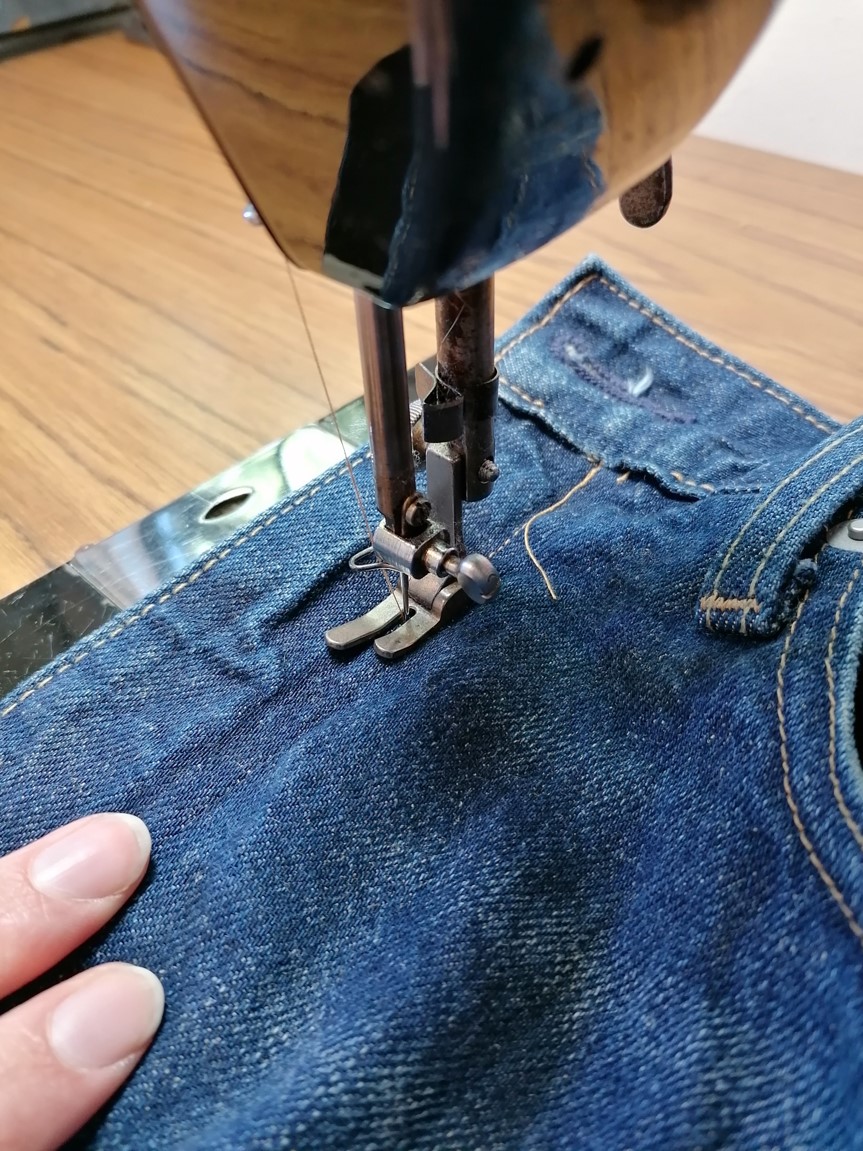
Next we top stitch the crotch, if the jeans had a contrast colour thread here, change your thread now. You want to make sure the layers underneath are sitting nice and flat before and whilst you are sewing, so take your time. Be careful not to catch the waistband here, both on top and underneath the jeans. I find it easiest to guide the needle into the correct place using the wheel, so my needle is down through the jeans before I start stitching, this also means you are less likely to catch the waistband in. Use the stitch lines of the old stitches as a guide for your crotch shape.
If you can’t see the old stitch lines, you can always chalk in a shape before you sew. If you’re happy with your shape, sew another line of stitches, either using the old stitch lines as a guide or just match the shape of your own stitch line. It’s important that these stitch lines are well sewn and straight. If you need to unpick and re-stitch to make sure it looks neat and has a nice curve, do it. Otherwise, it can look really messy.
Step 7
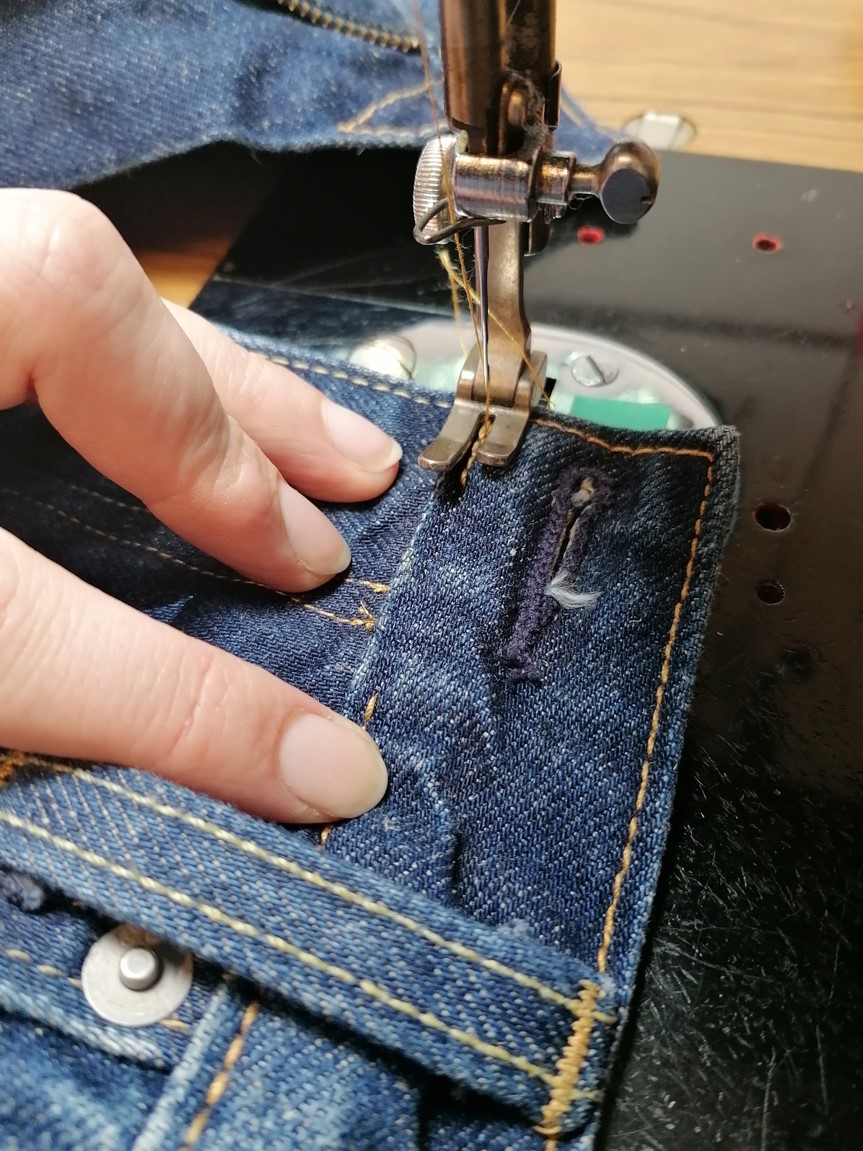
Keeping the contrast colour thread in, top stitch the waistband into place on both the left and right-hand side of the jeans. Top stitch across the bottom of the zip and anywhere else that you unpicked that needs restitched.
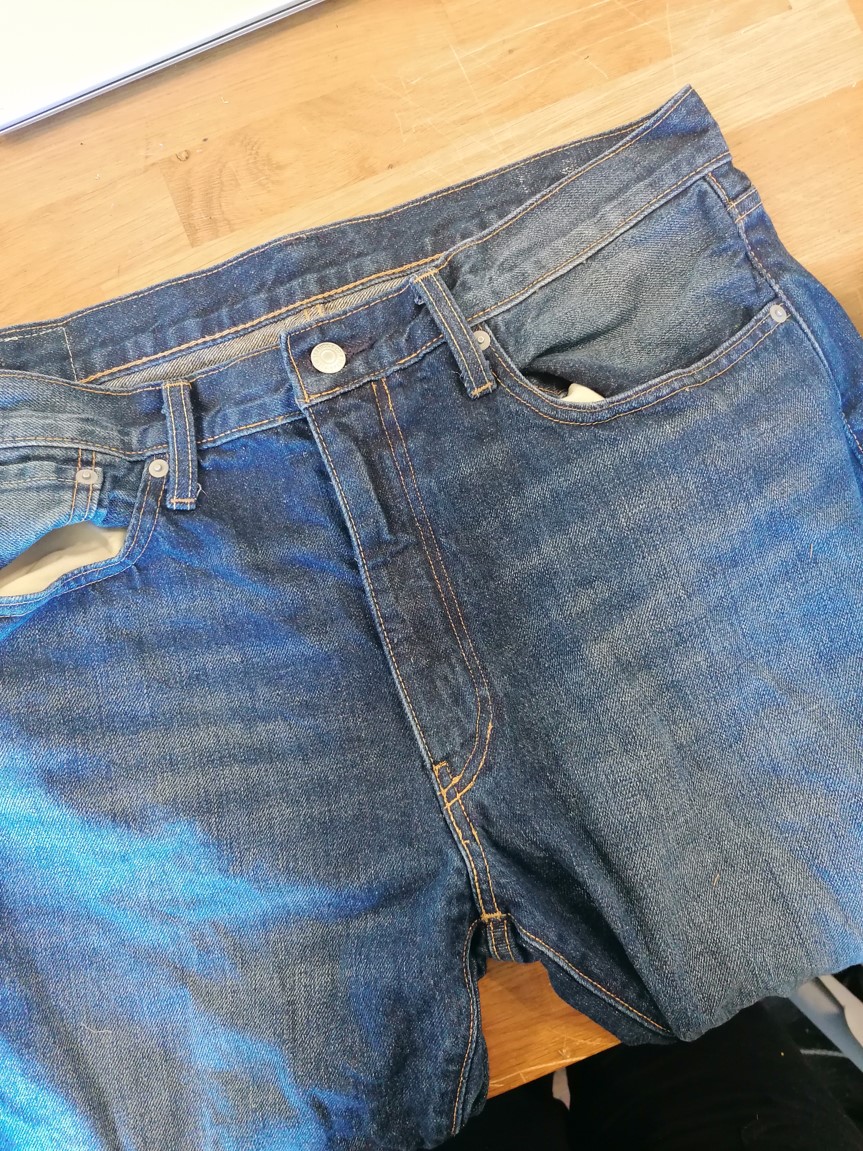
How to Hem Your Jeans
Being able to hem your own trousers is such a great technique to know. The great thing about this technique is that you can use it on any garment hem, not just jeans.
What you will need
- Measuring tape
- Chalk and/or pins
- Fabric scissors and snips
- Iron
- Sewing machine
- Thread for stitching
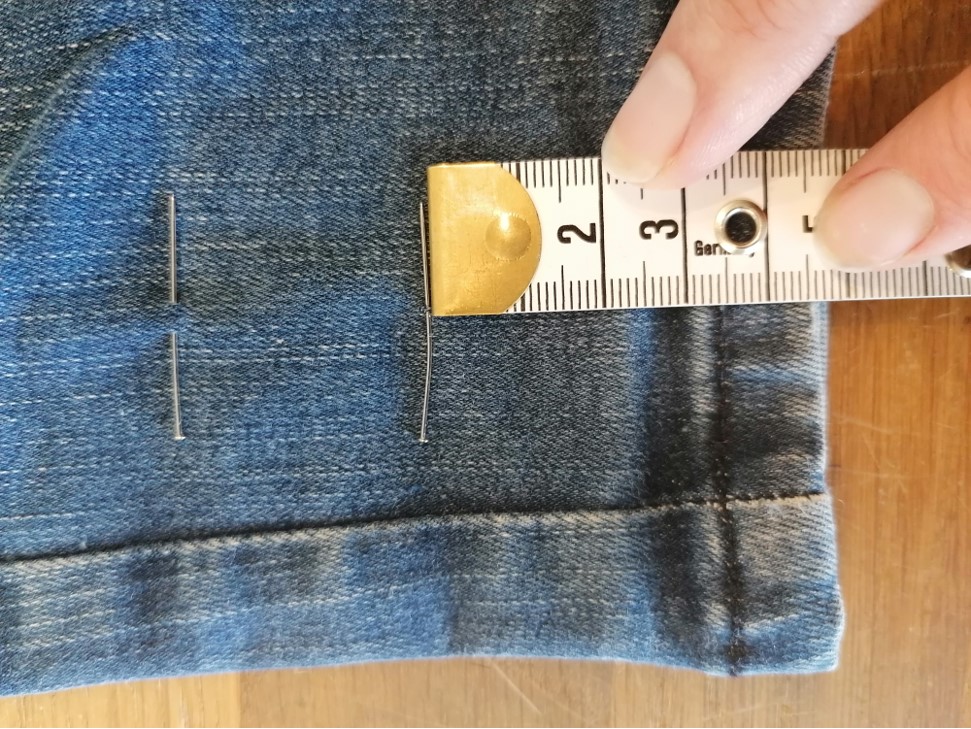
Step 1
Measure how much your jeans need taken up by and mark it with a pin on the outside of the jean leg. In this example, they are coming up by 8cm. Make sure you don’t catch the other side of the jeans with your pin.

Step 2
From the inside of the jeans, take a measurement of the inside hem and note it down. In this example, the hem is 1.5cm. This means we need 3cm seam allowance to make this 1.5cm hem (1.5 x 2).
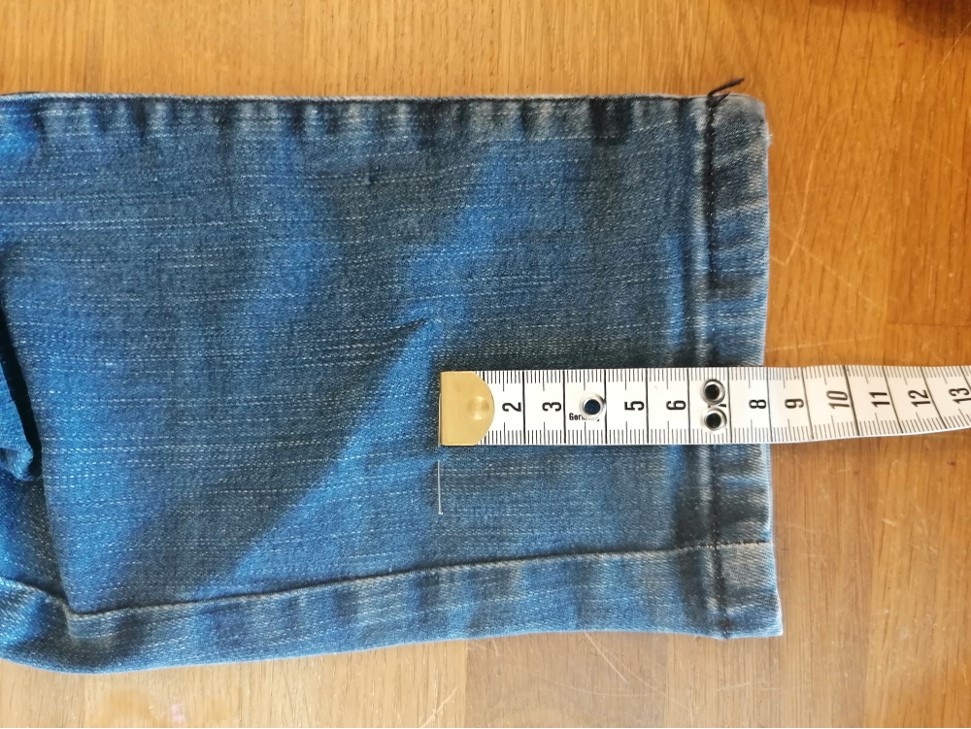
Step 3
Measure 3cm down from the first pin, this is how much we are going to cut off your jeans. Take your measuring tape and measure from the second pin down to the bottom of the hem and take a note of this measurement. In this example the measurement is 4.8cm.
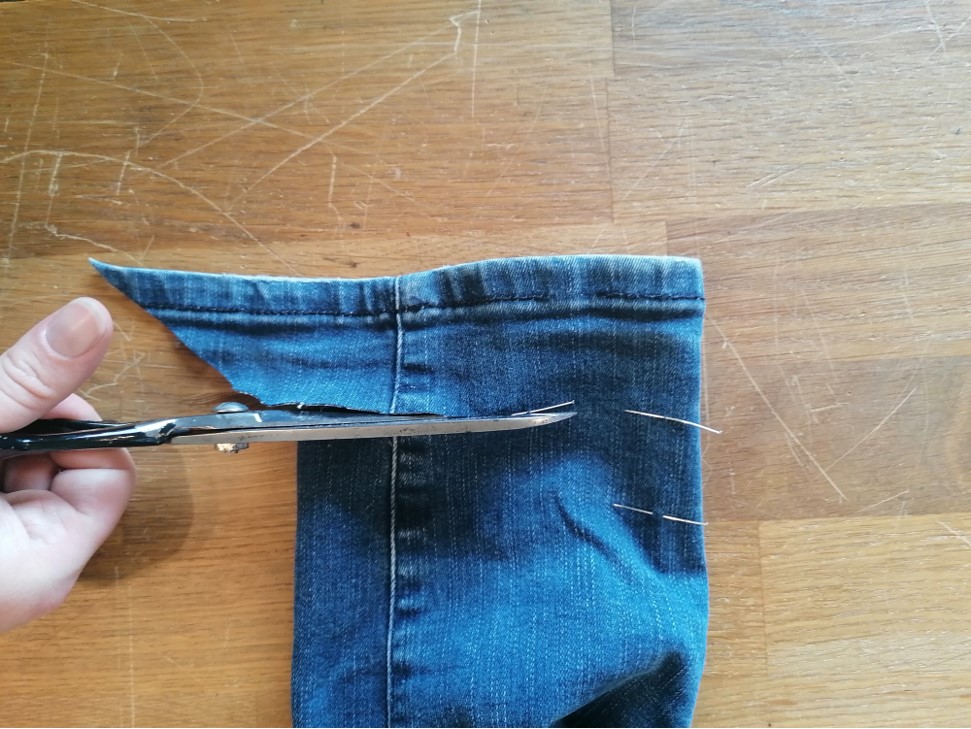
Step 4
Measure from the bottom of the hem up 4.8cm, marking the measurement with either pins or chalk around the whole bottom of the leg. Take your fabric scissors and cut along the chalk/pin line.

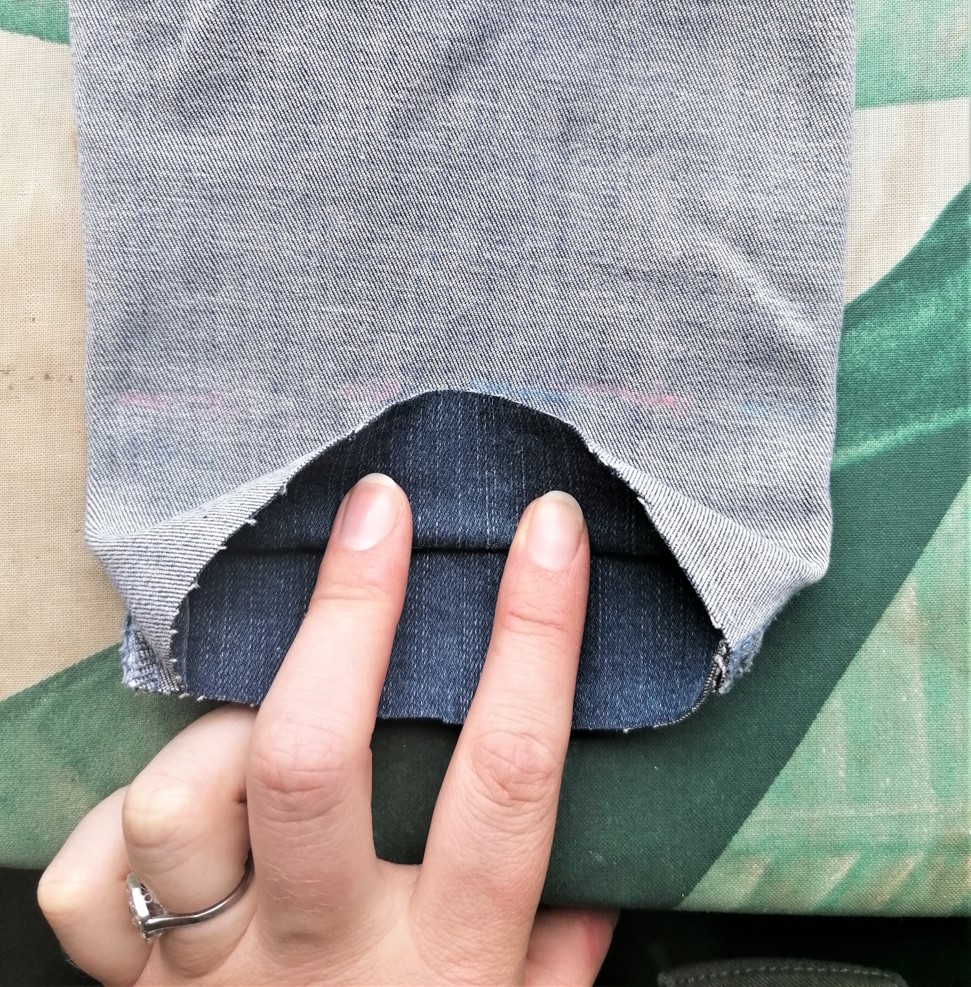
Step 5
Turn the jeans inside out. In this example, we have a 3cm seam allowance for our hem. Take your measuring tape and measure 6cm up from the bottom of the jeans (3cm x 2) and pin/chalk this measurement all the way around the jeans.
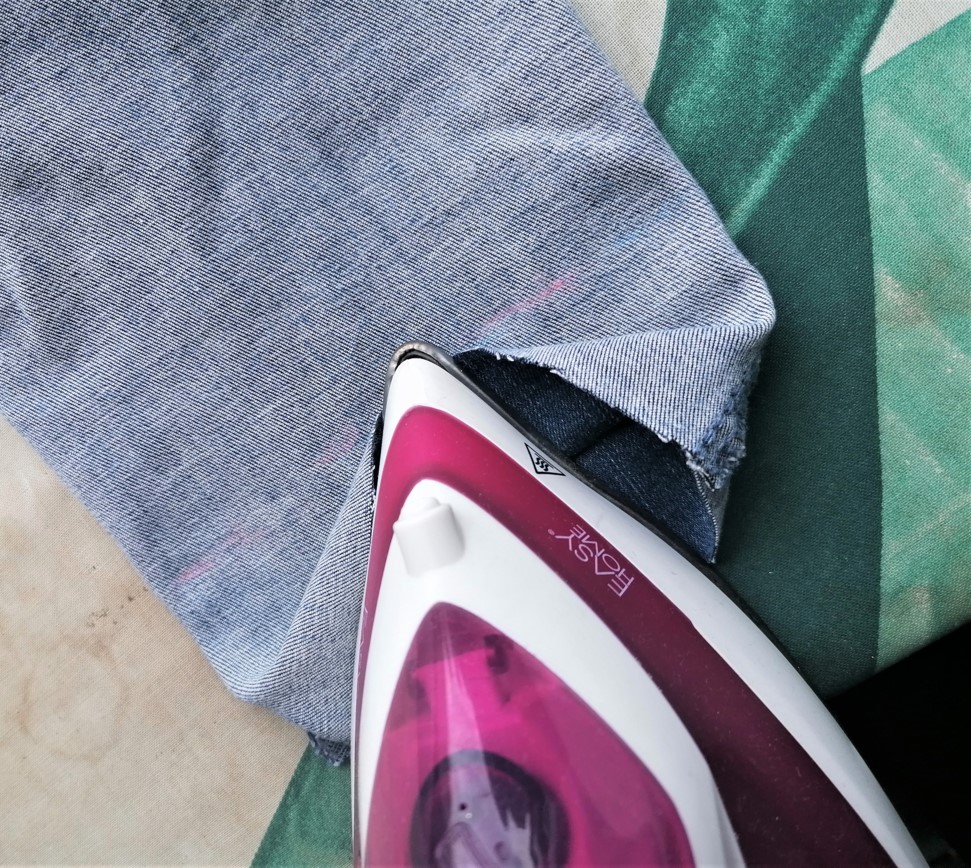
Step 6
Go to the ironing board and fold the bottom of the hem up to meet the pins/chalk line, use your iron on a medium-high heat and press it into place. Use a bit of steam if needed, if you are worried about your fabric then put cloth/fabric between the fabric and the jeans. Repeat around the whole hem of your jeans until your hem is turned up all the way around. This method will give us a really crisp edge when we are sewing our new hemline and should make it really easy for us to sew.
You can check your hem is the right measurement by measuring the turned up hem – in this case, we would want the turned up hem to measure 3cm.
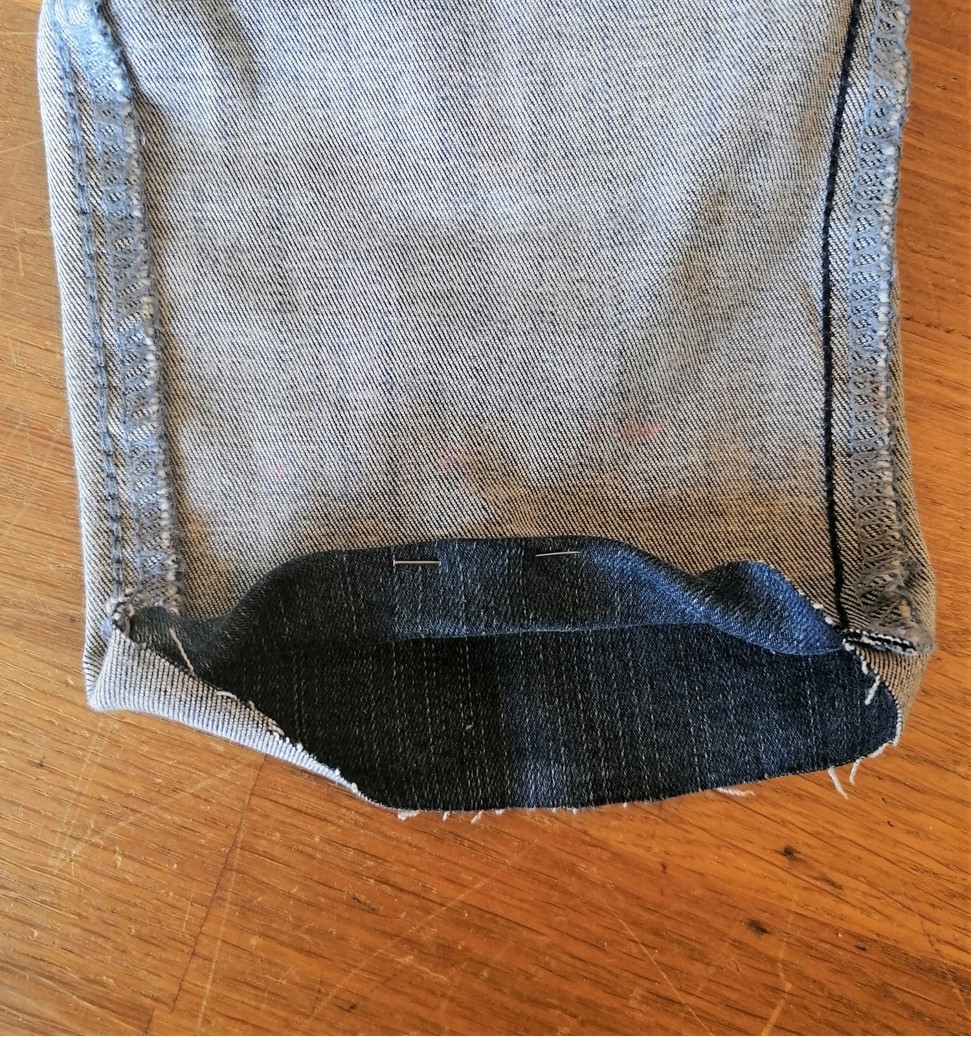
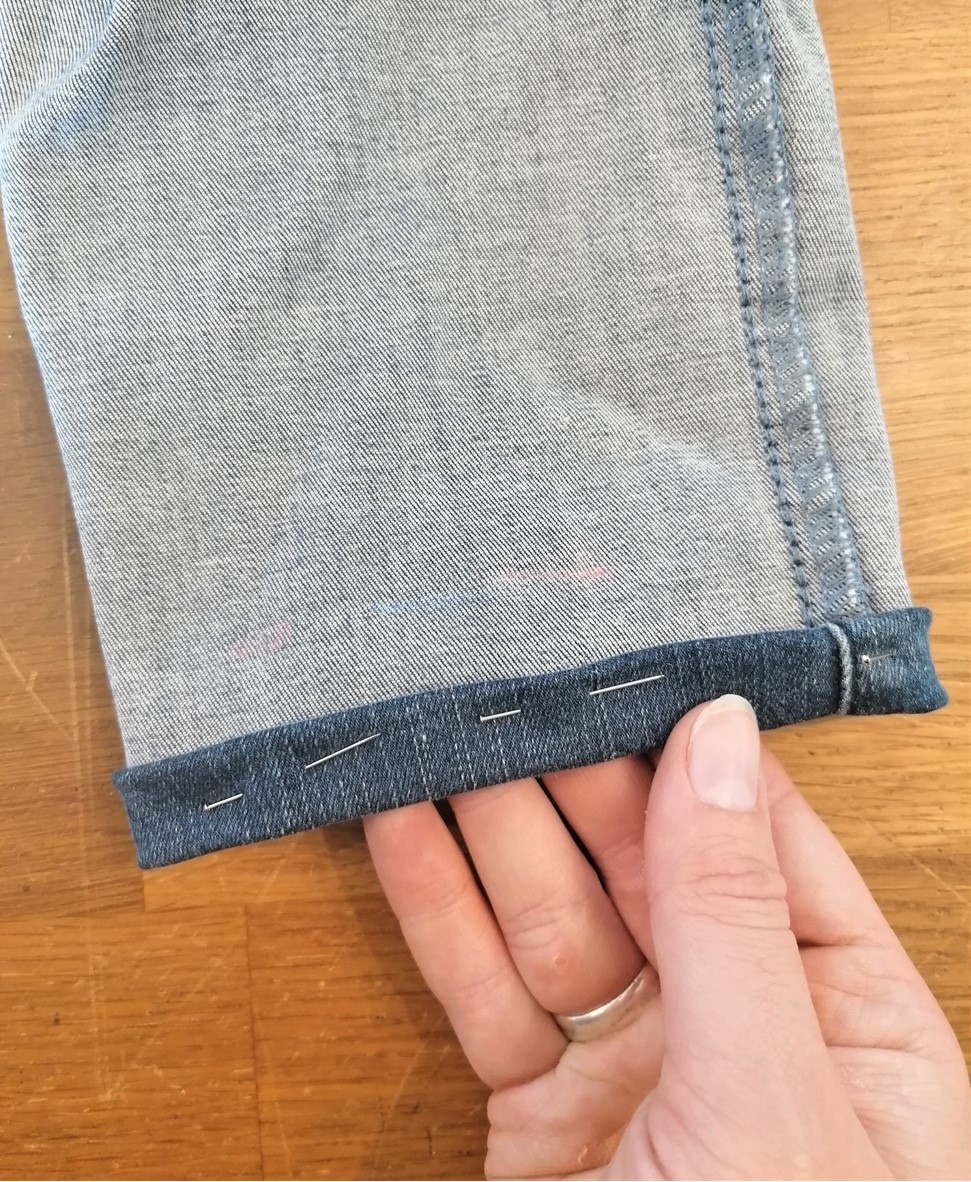
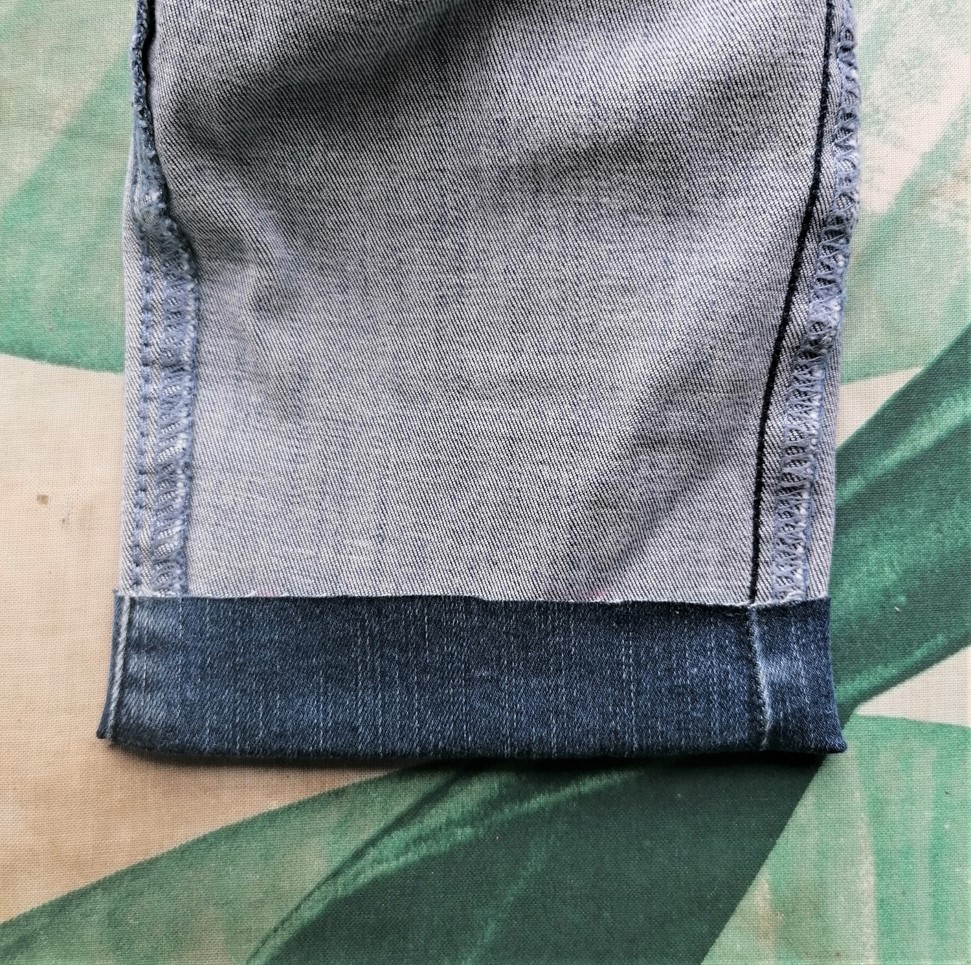
Step 7
Roll the hem back down, then take the hem and fold it up to where the crease is that we have just pressed into the jeans. Fold the hem up again so the seam edge is in line with the 6cm pins/chalk line and pin into place. Repeat around the whole jean cuff. This should be easy to do because we have pressed the hem into shape already, so the crease we made will help guide the fabric into its new position.
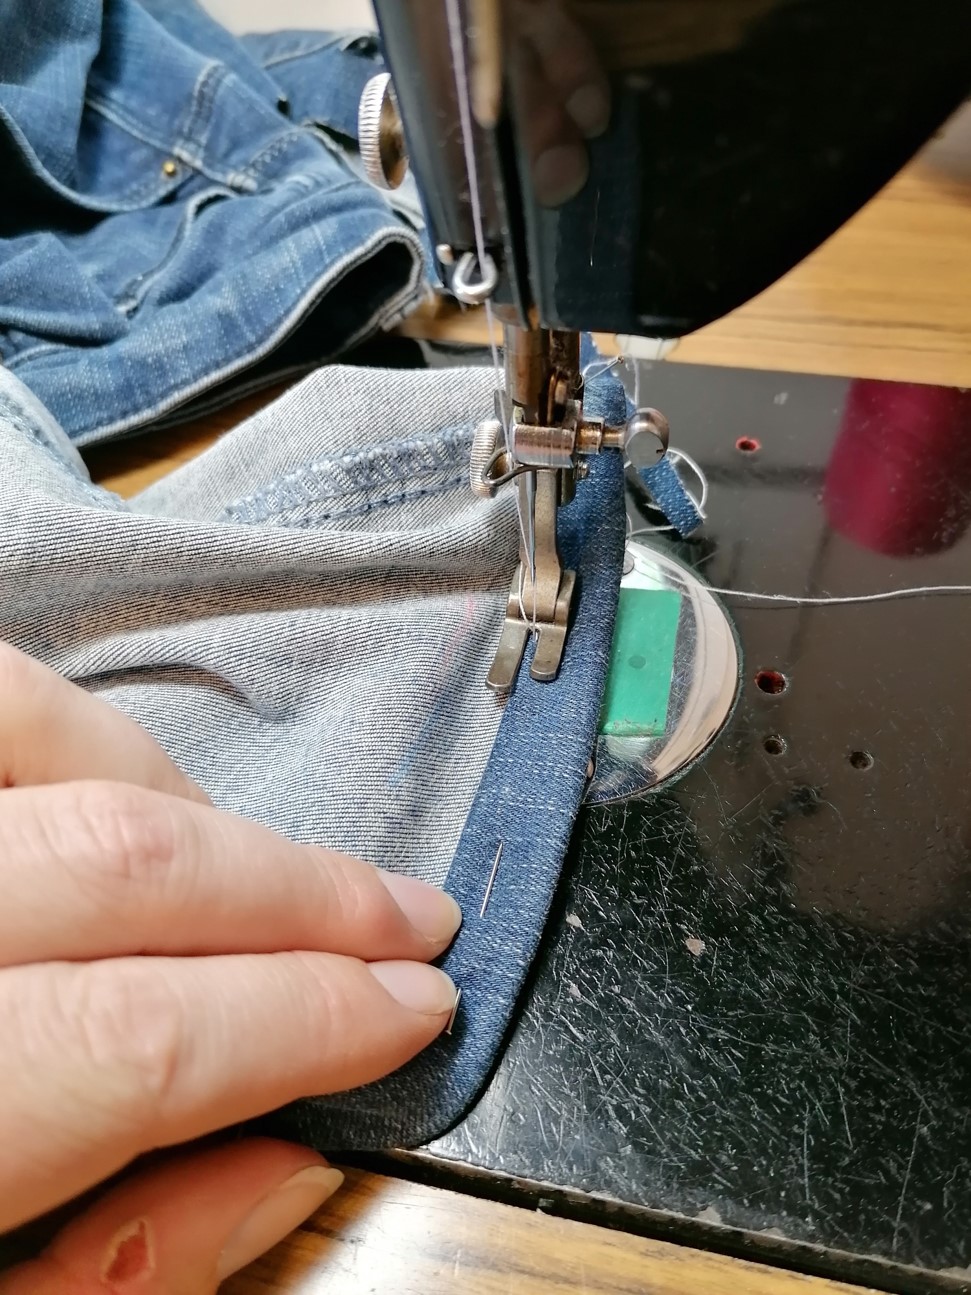
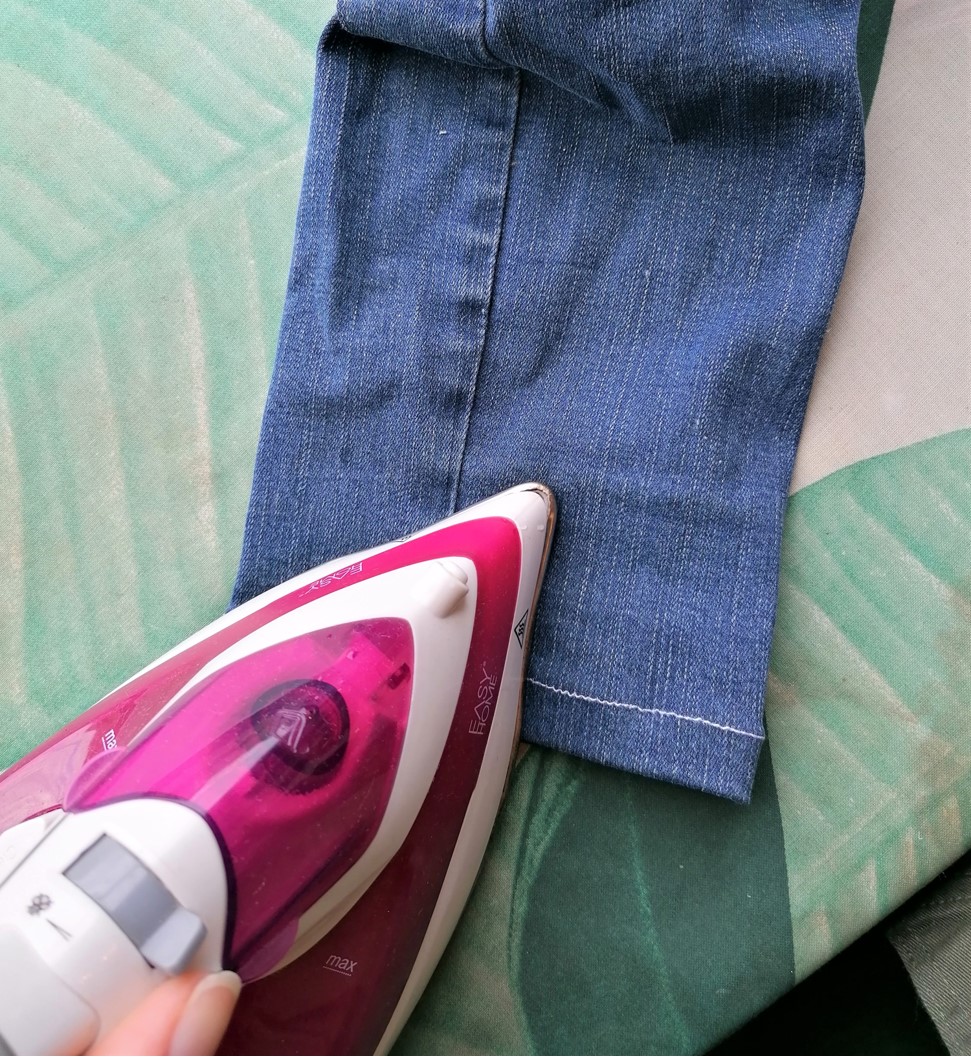
Step 8
Sew into place, being careful to remove your pins as you sew. Give your jeans a final press once you have sewn the hem into place.
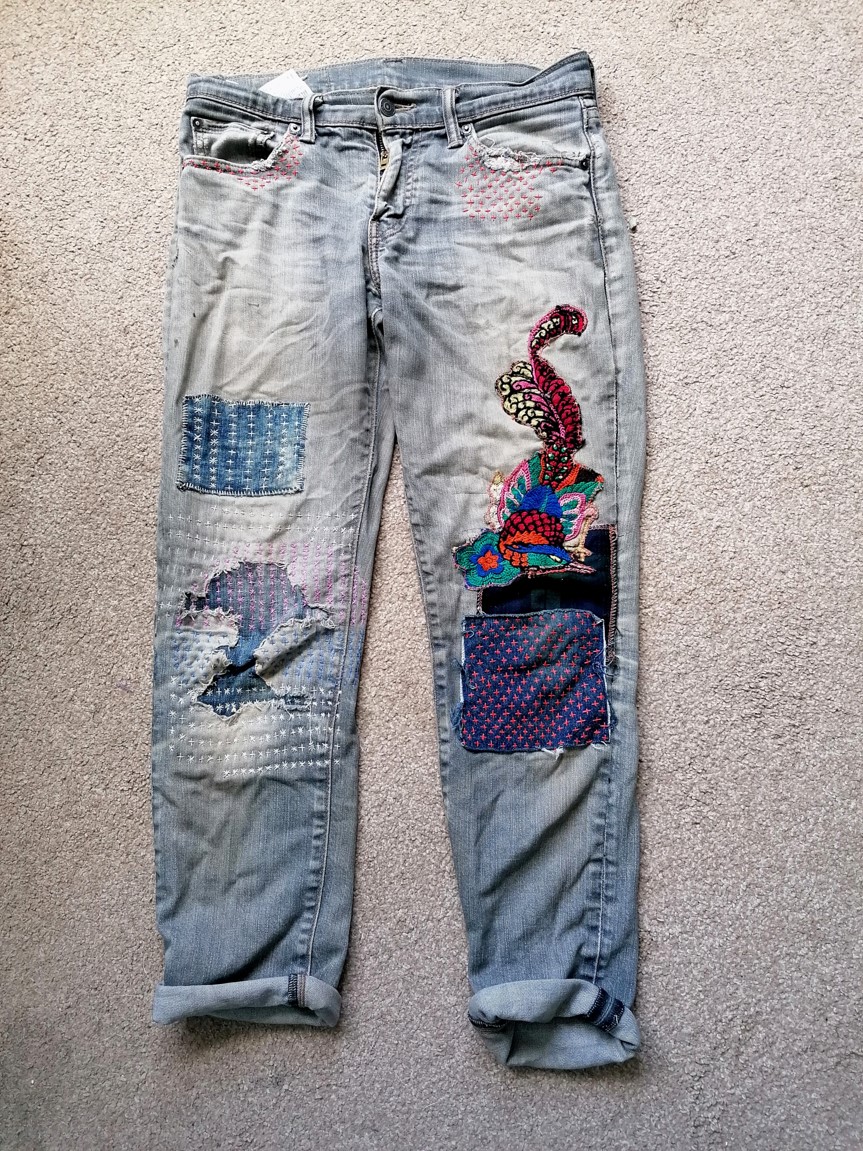
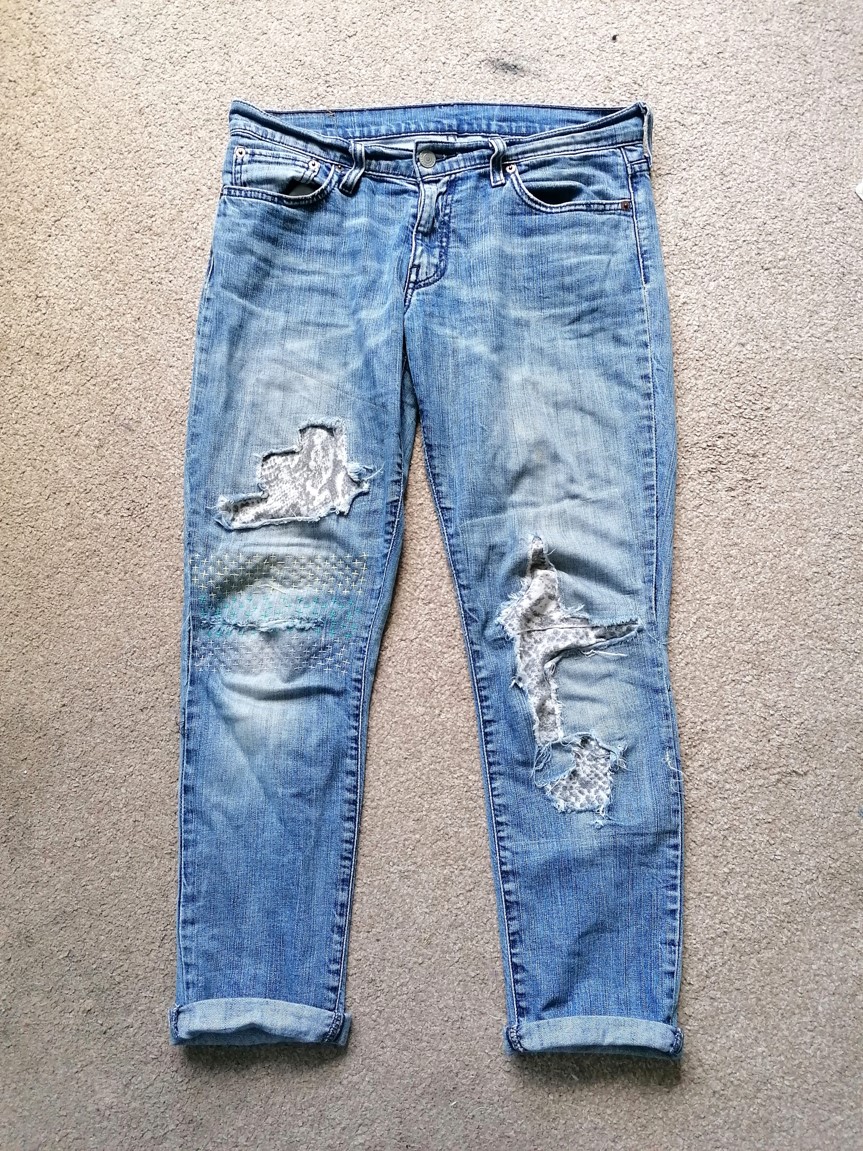
How to Patch Repair Your Jeans
Being able to put a patch onto jeans, or any garment, is a really handy and quick repair technique to know.
What you will need
- Measuring tape and ruler/set square
- Chalk/pins
- Fabric for patching at least 2cm bigger around all edges than your hole
- Sewing machine
- Iron
- Fabric scissors
Step 1
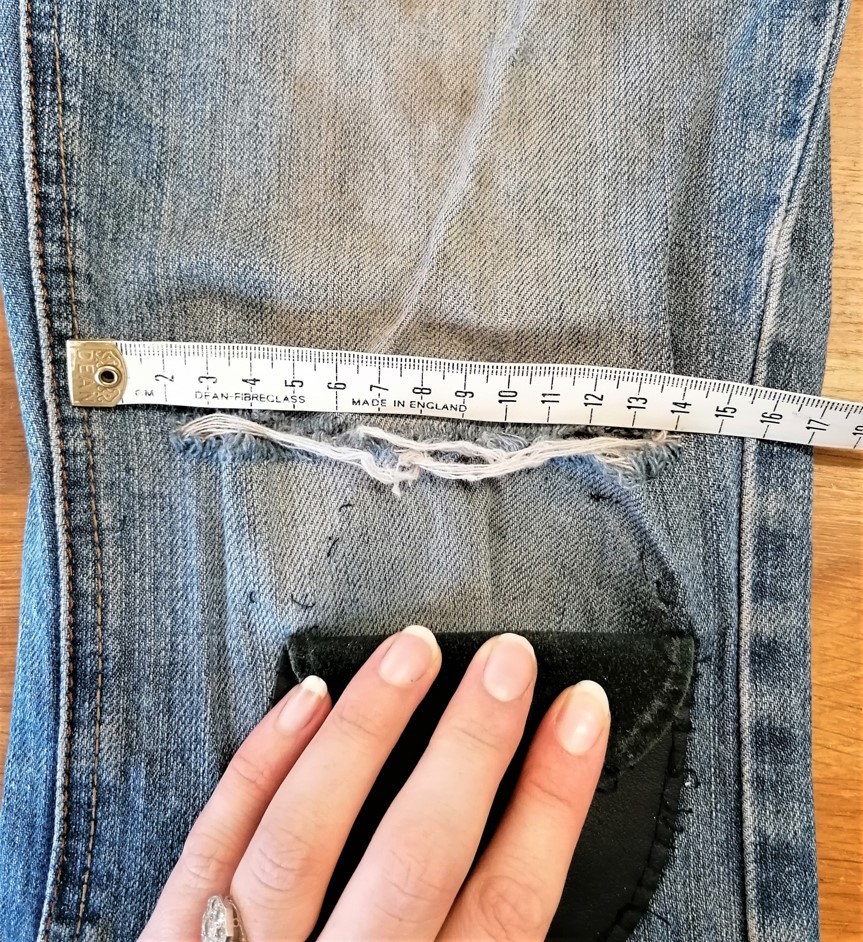
Measure out how big you need to make your patch. As a rule of thumb, always ensure your patch covers 2cm past where the tears/hole ends.
Step 2
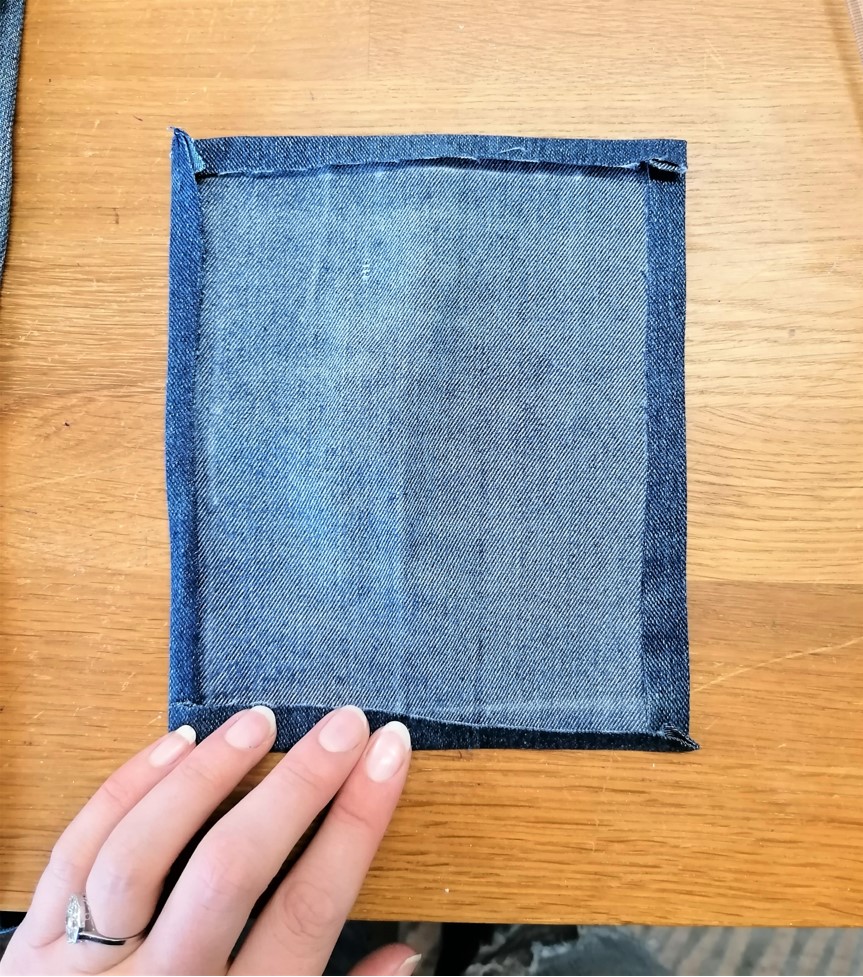
Take the measurements from step 1, add 1cm seam allowance around the edges and then cut your patch. It’s best to use a fabric that is of similar weight to your jeans (this applies to any garment you are patching) but really, you can choose whatever fabric you like. On the back/reverse side of your fabric, take your measuring tape and chalk/pin 2cm in from the edge all around the patch.
Take your patch to the ironing board, fold up the seam edge to meet your chalk lines/pins and press down. Repeat this for all 4 sides of the patch. This will give you a really crisp edge to sew along when sewing your patch to your jeans.
Step 3
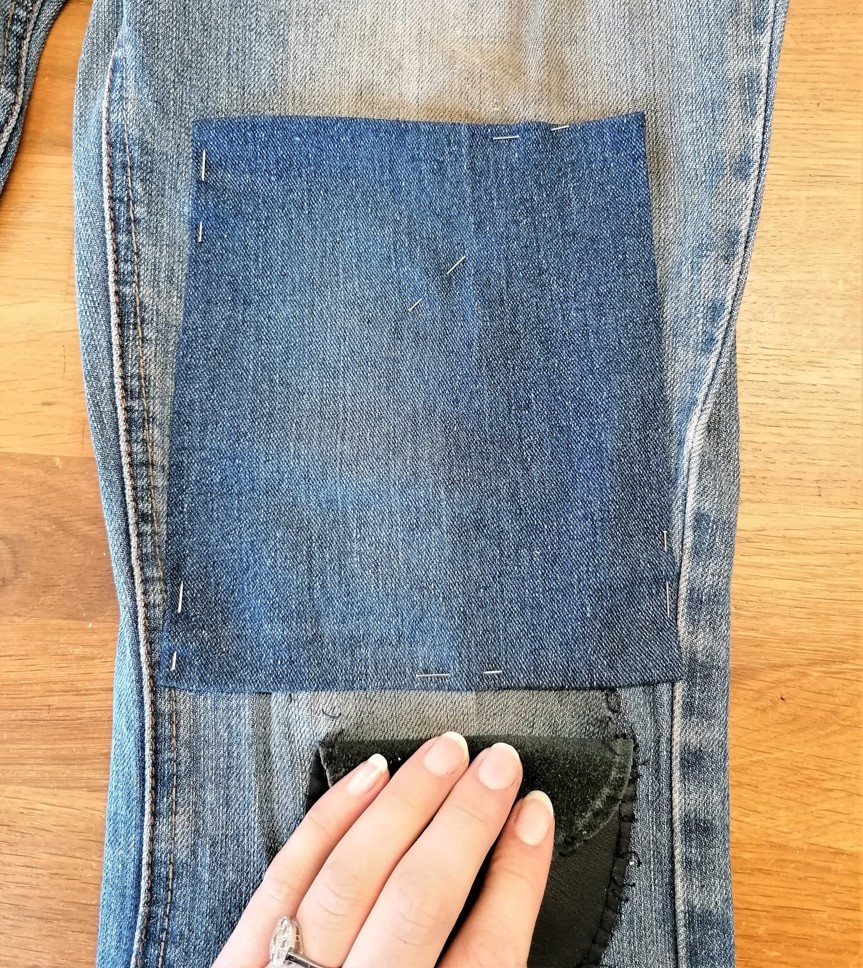
Pin your patch to your jeans. Depending on where your hole is, you may need to open up one of the side seams on your jeans to make it easier for you to sew your patch on. If so, open up your seam, once you have sewn your patch in, re-sew the seam. Place your pins in the 4 corners of the patch. If you feel you need more pins, then that’s fine. It’s totally up to you.
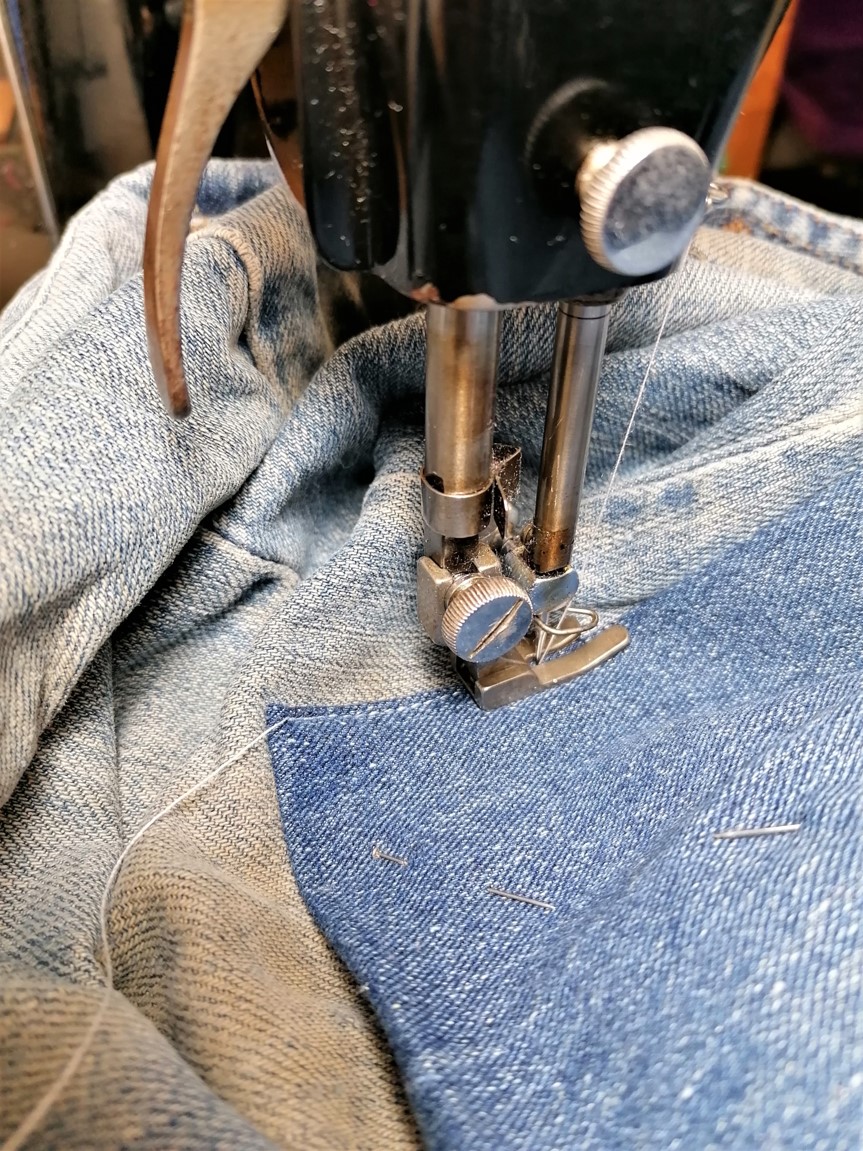
Sew in your patch, being careful to remove the pins as you sew. Feel free to use a contrast colour thread for top stitching.
How to Sashiko on Denim
You may be familiar with sashiko mending as it has become a really popular mending technique over the last few years.
Sashiko is usually dated to the Edo period in Japan (1603-1867), during this time Japan closed its borders to trade and travel, and the common classes were forbidden from wearing certain fabrics and restricted to wearing certain colours. They had to make their own cloth on home looms from hemp which was grown locally, then dyed indigo. Cream thread was used to do the sashiko stitching to contrast against the dark indigo background when sewing at night. Three layers of fabric would be sewn together, using the sashiko stitch to sew them together, this method would trap heat into the garment which would be welcome in the harsh winters in rural Japan, and it also meant the garment or item would be easy to patch and repair as it aged.
Sashiko stitching works really well on denim, but it can really be used on any fabric that has a good weight and structure to it. Here’s a simple guide for how to do a basic sashiko stitch.
What you will need –
- Needle and sashiko thread (I use embroidery thread)
- Fabric to practise sewing on, approx. 2 15cm square pieces
- Fabric scissors and snips
- Fabric chalk and a ruler
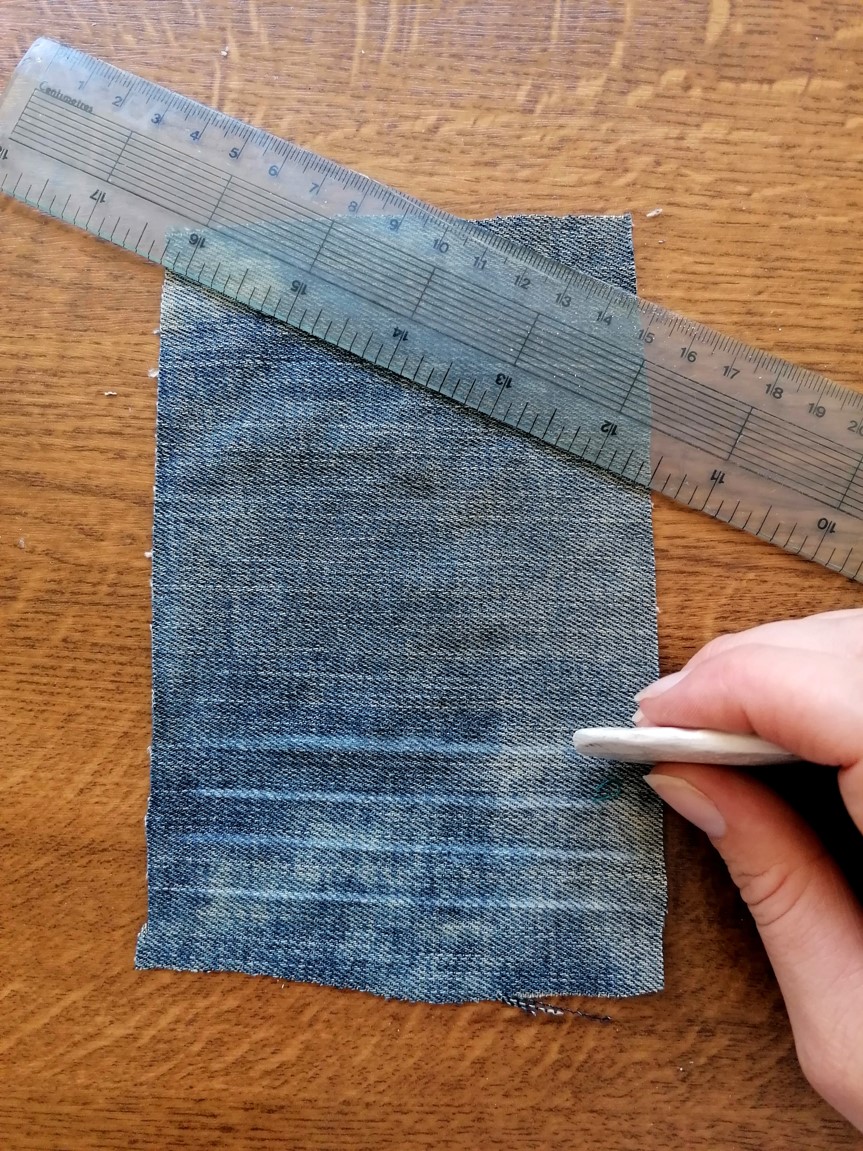
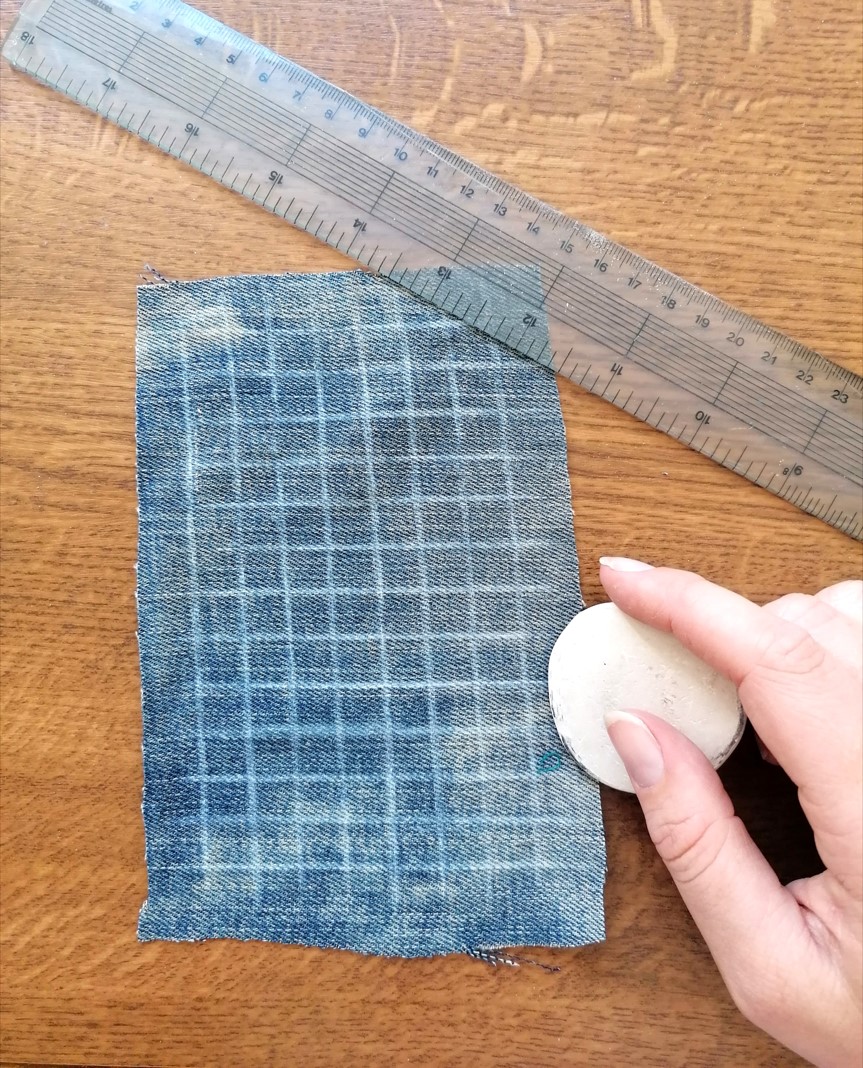
Step 1
Take your fabric, and chalk out lines approx. 1cm apart horizontally, then repeat vertically to create a grid. This will be your guide for stitching.
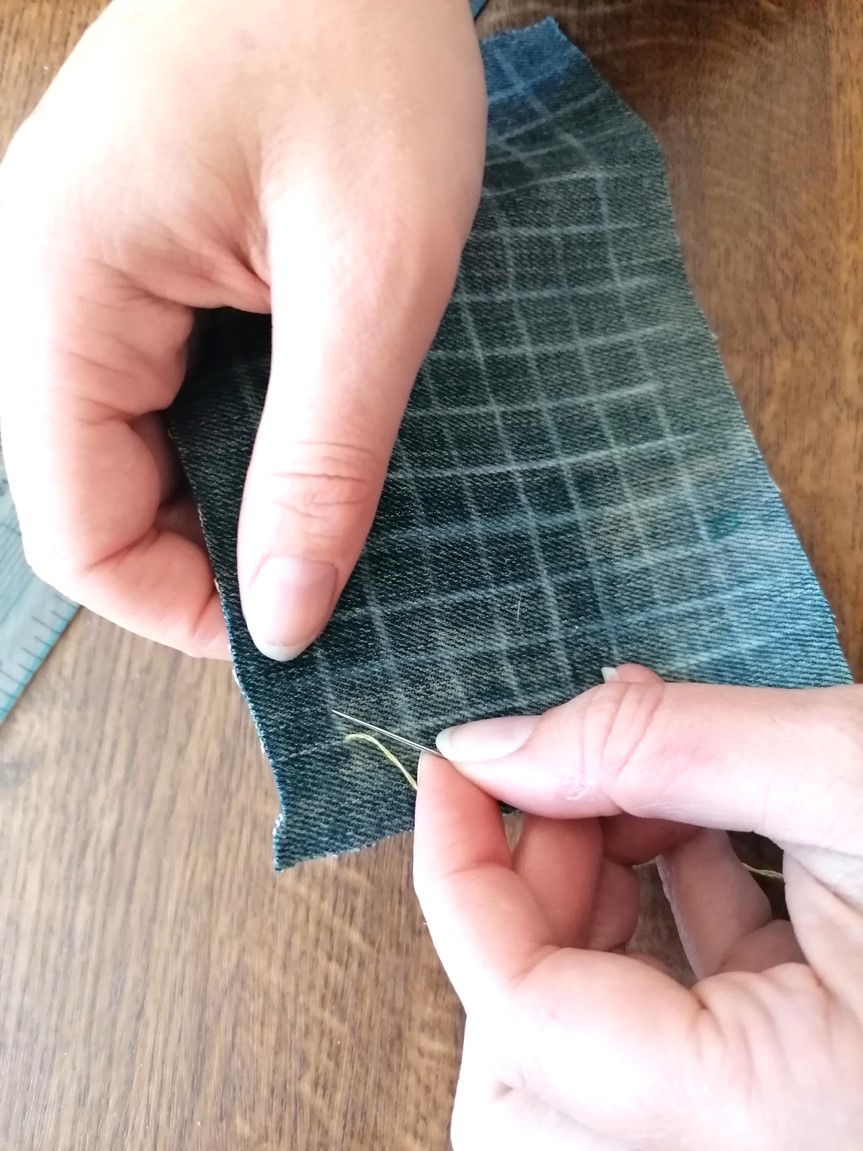
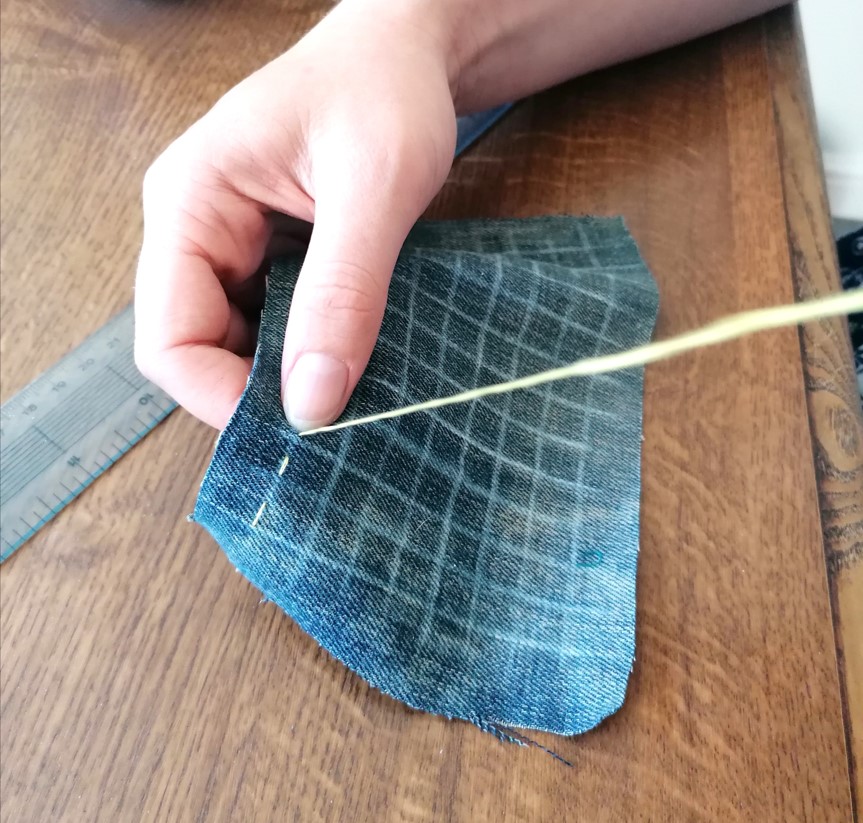
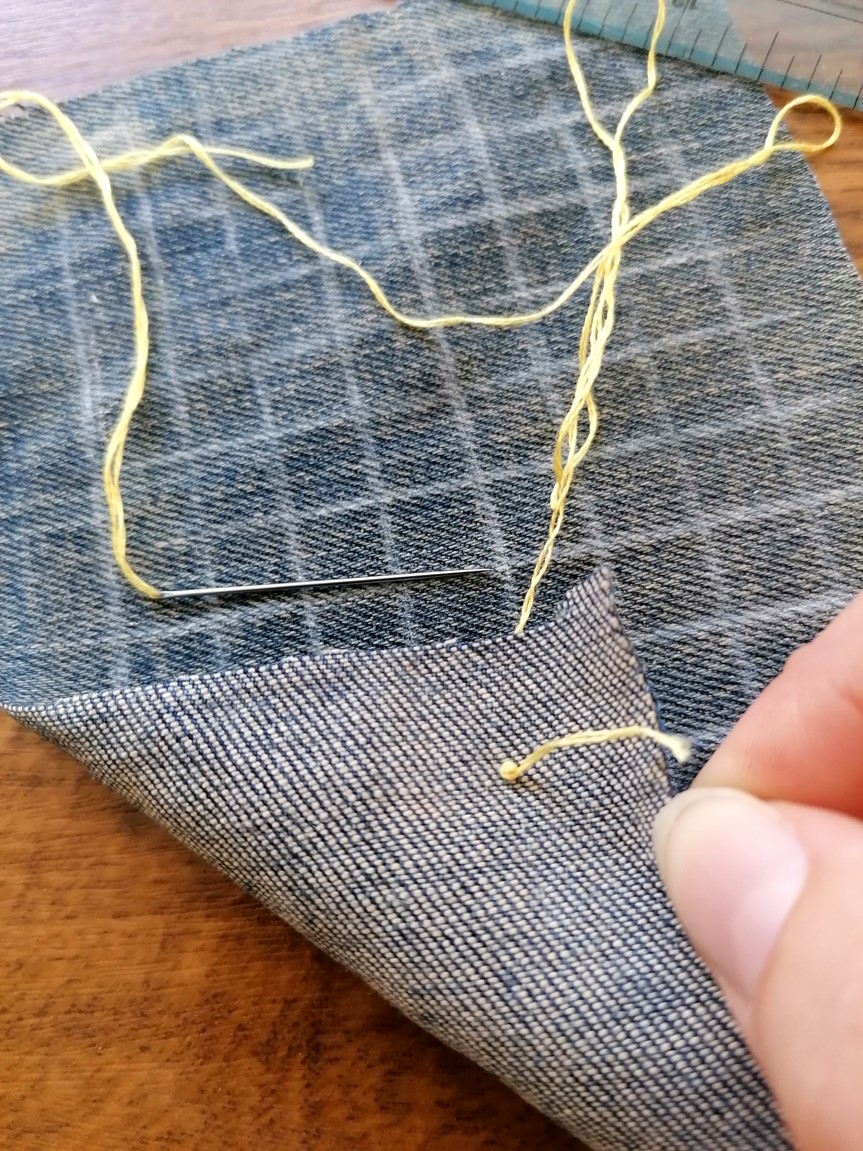
Step 2
Thread your needle, tying a knot in the end to secure the thread. Push your needle through from the back to the front of the fabric at the bottom of the fabric grid. Make your stitch half the length of the 1cm stitch line, so 0.5cm. Follow the line up using 0.5cm stitch length and spacing your stitches so they are 0.5cm apart. Repeat this along the next vertical line but stagger the stitch so it’s 0.5cm higher than the one you have just done, then for the next row have it in line with the first and so on. Staggering the stitches like this will give us a really nice evenly spaced pattern at the end.
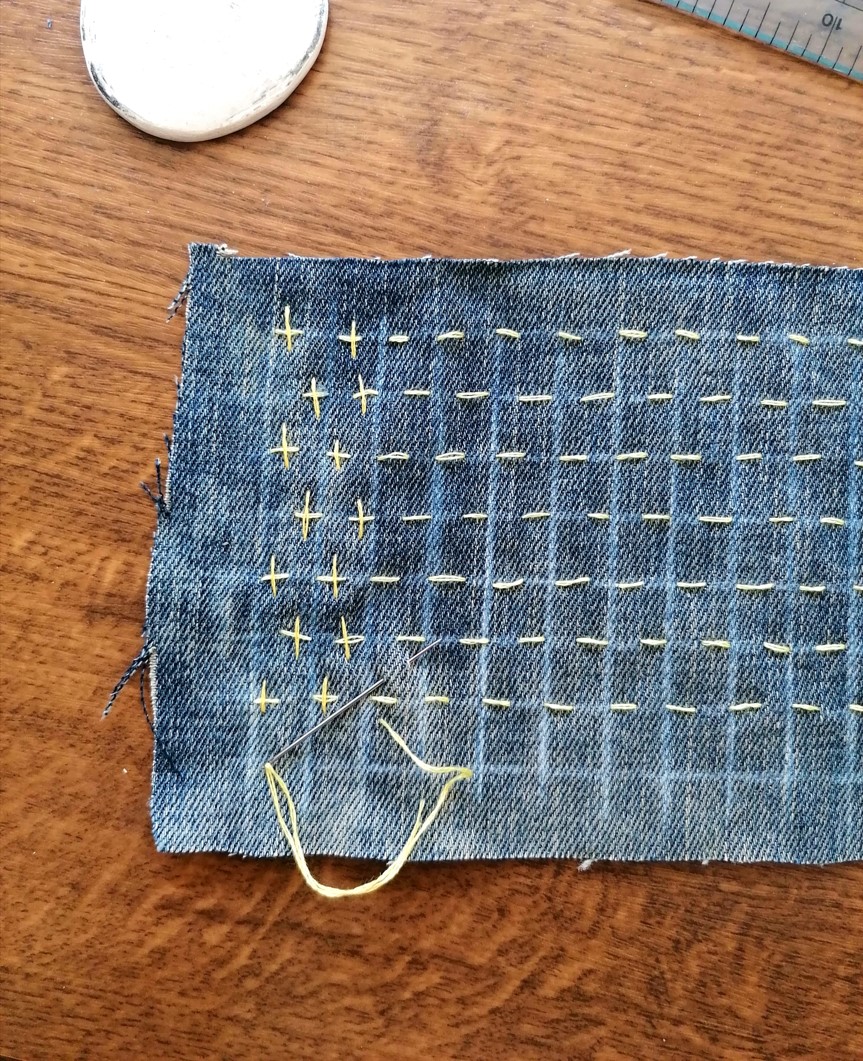

Step 3
Now we are going to do the exact same stitches but running horizontally. We will create tiny little crosses on the fabric. Repeat technique until all the stitches are turned into little crosses. And that is it! It’s really as simple as that. You can keep going, making diagonal stitches and turn your crosses into stars if you like.
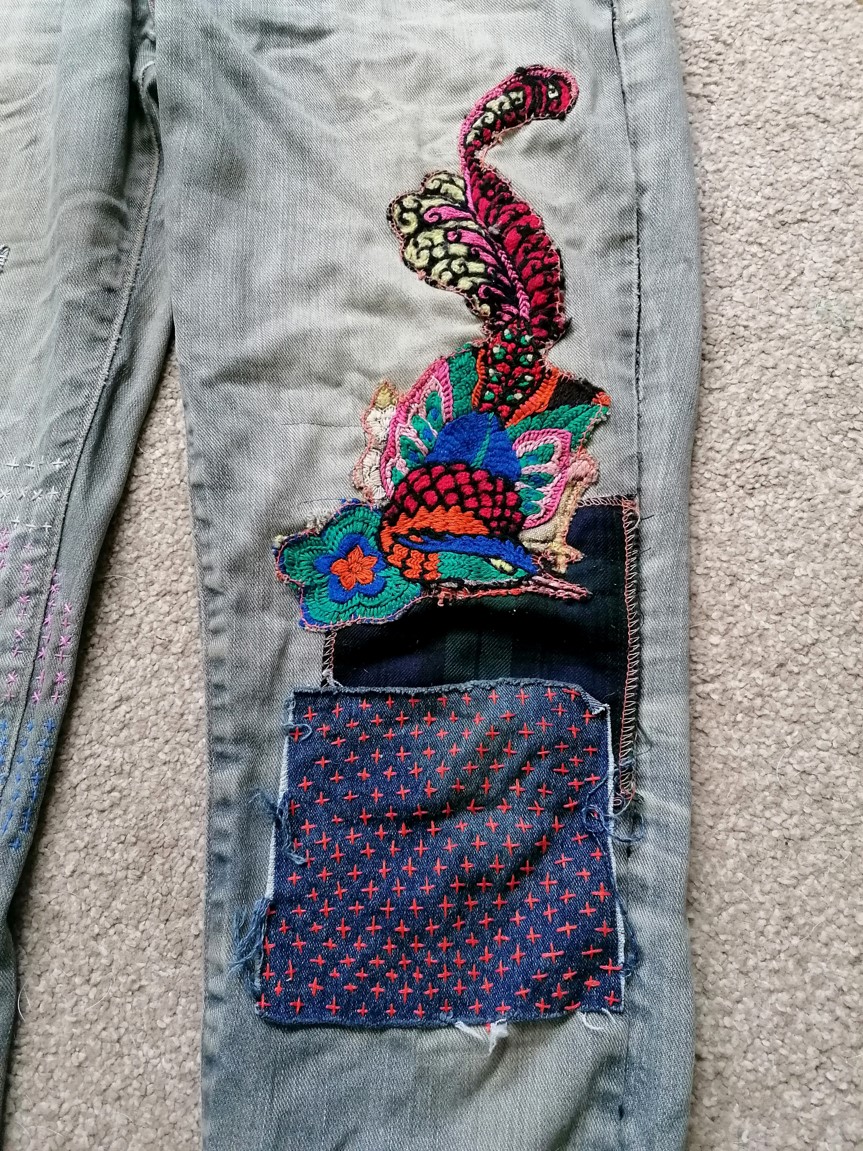
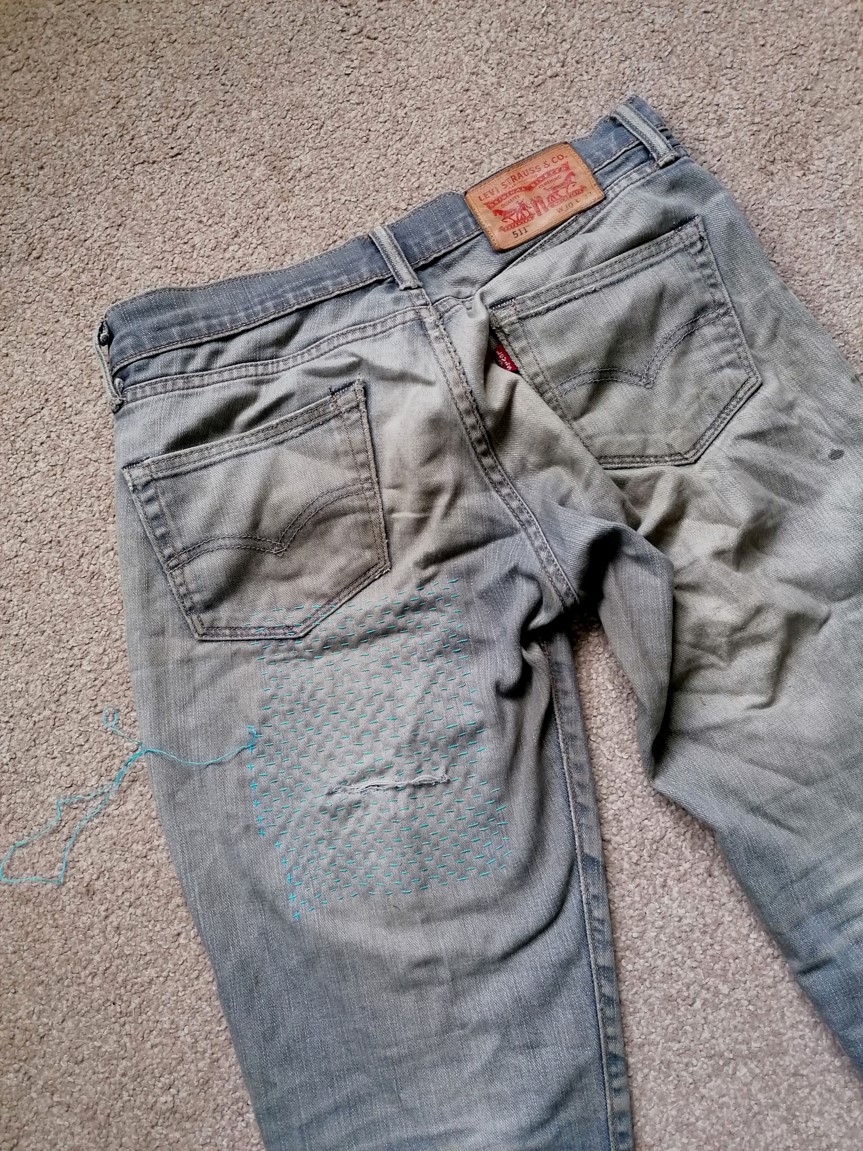
Step 4
You are now ready to do some sashiko repairs on your own garments. If you are mending your jeans, I find it easier to unpick one seam of my jeans so that I can get in and out of the fabric more easily. Once you have done the sashiko repair, you can then sew the seam back up, or get creative!